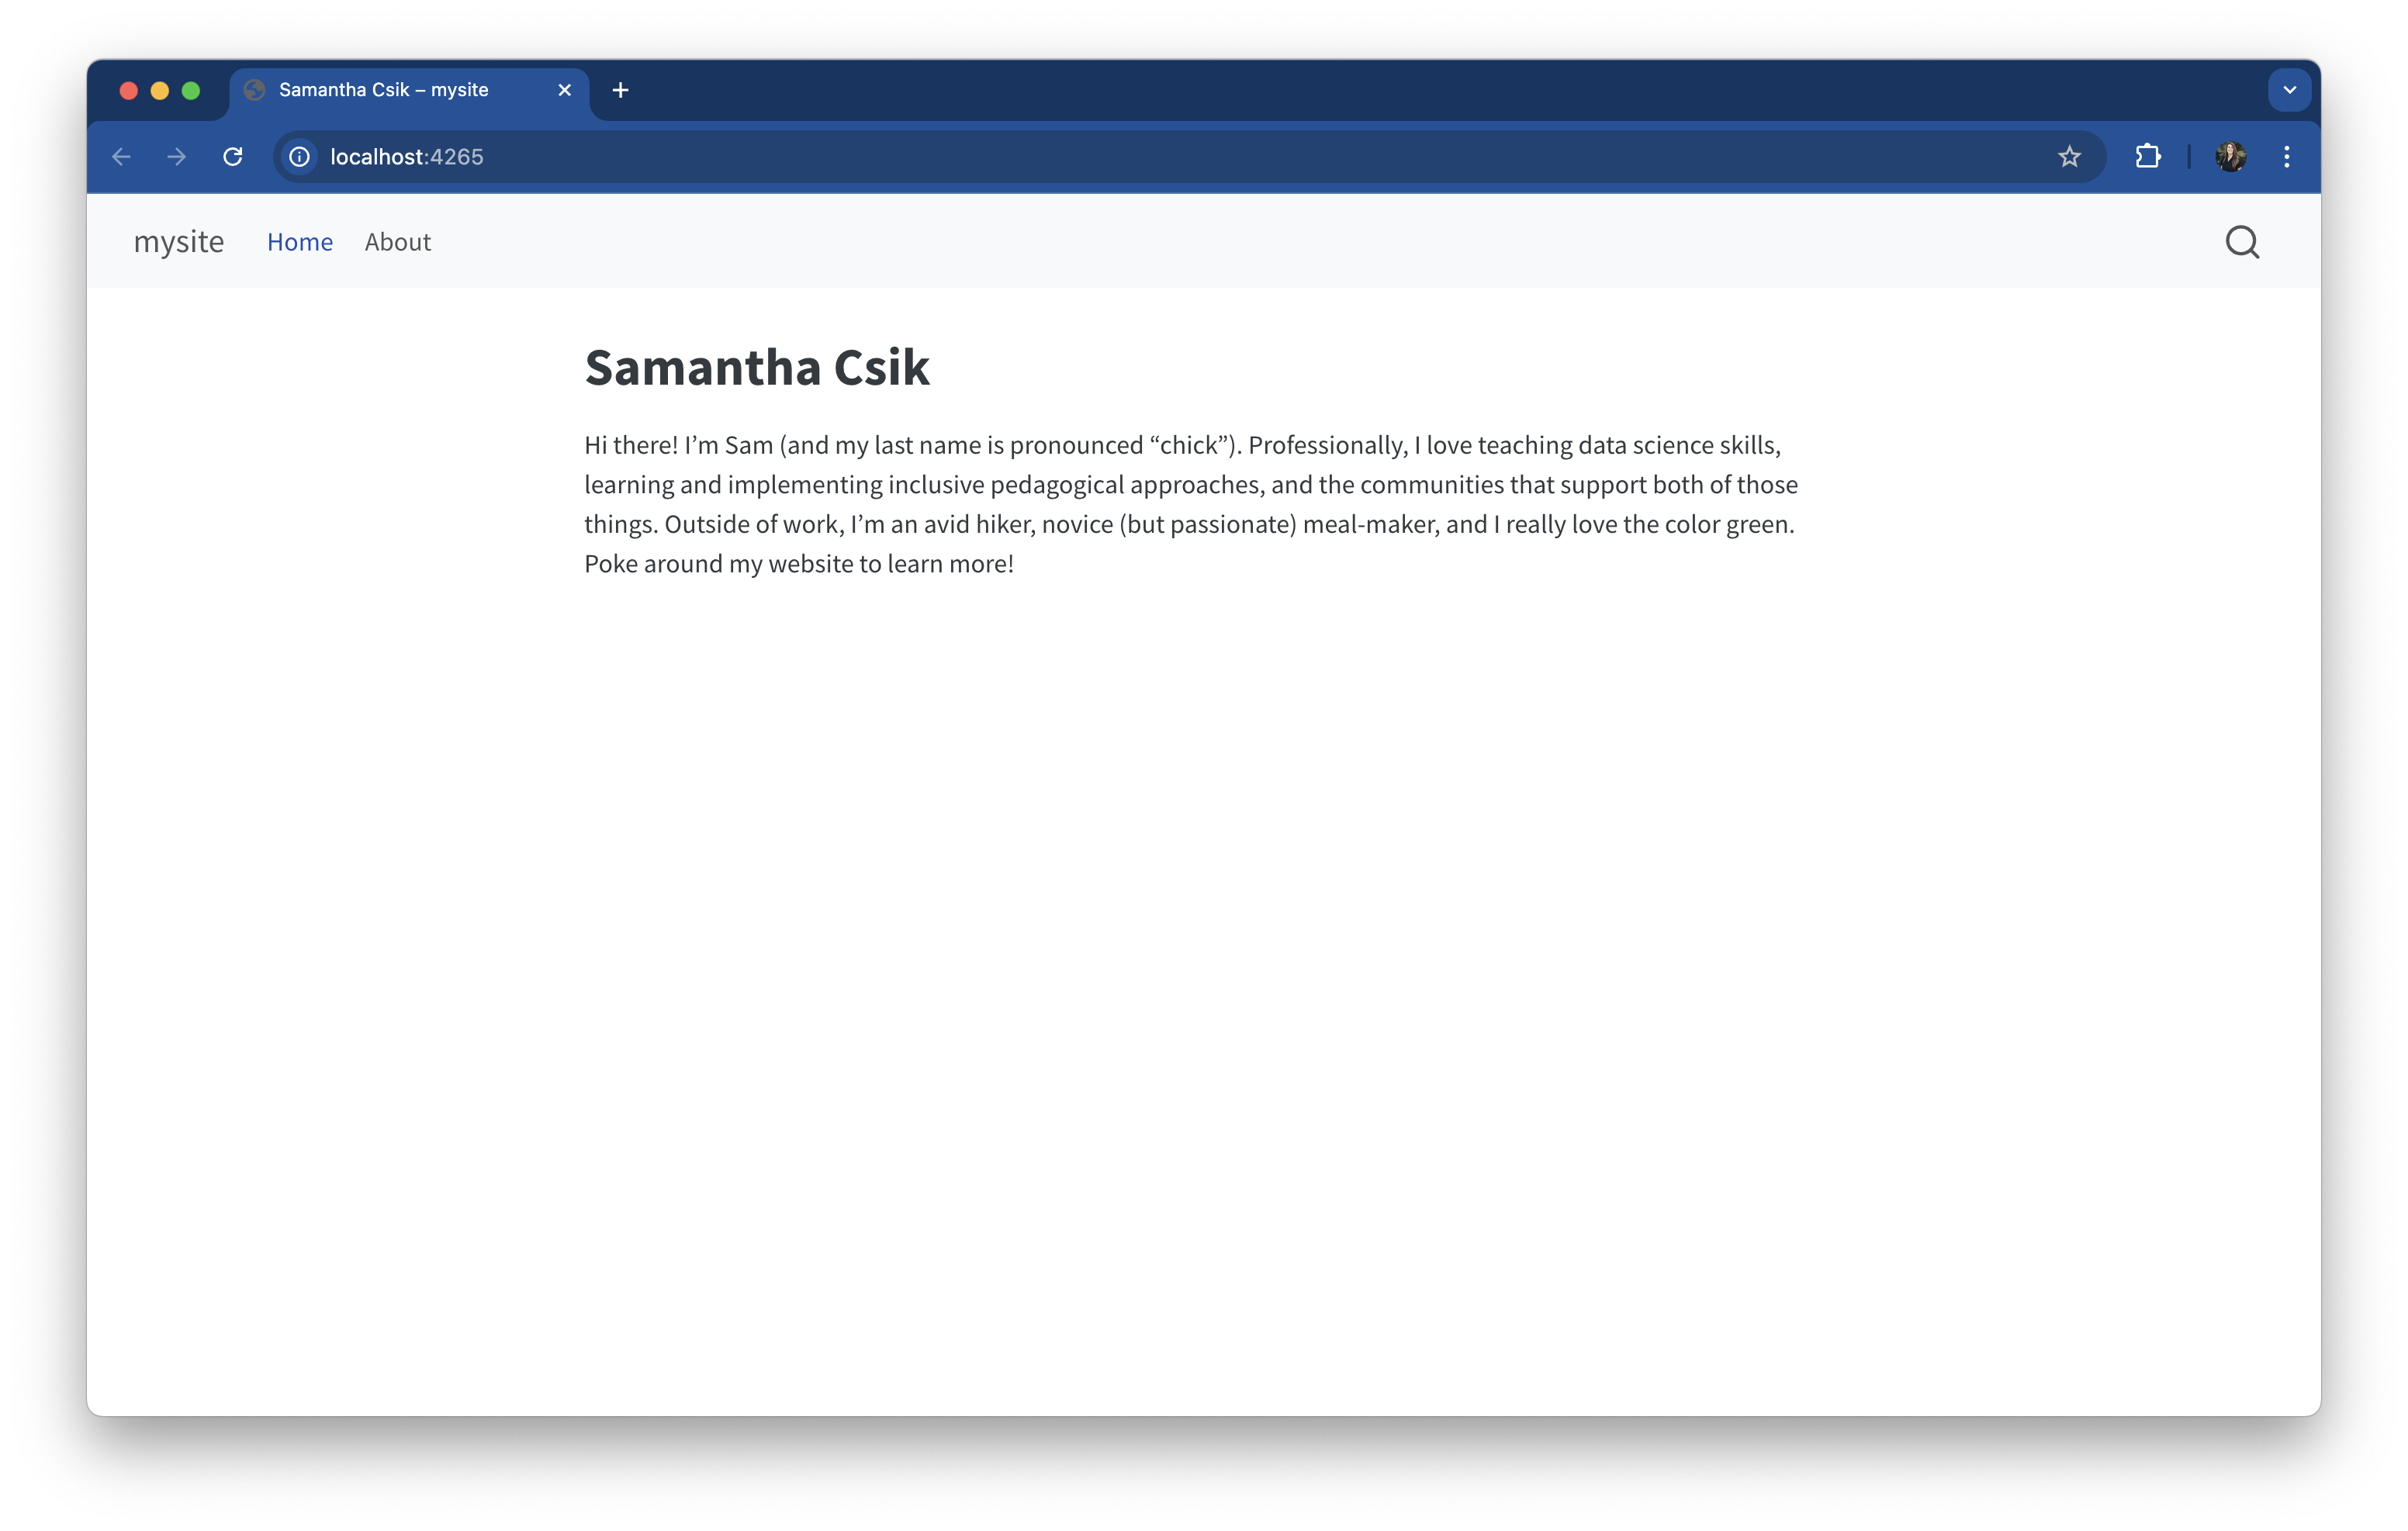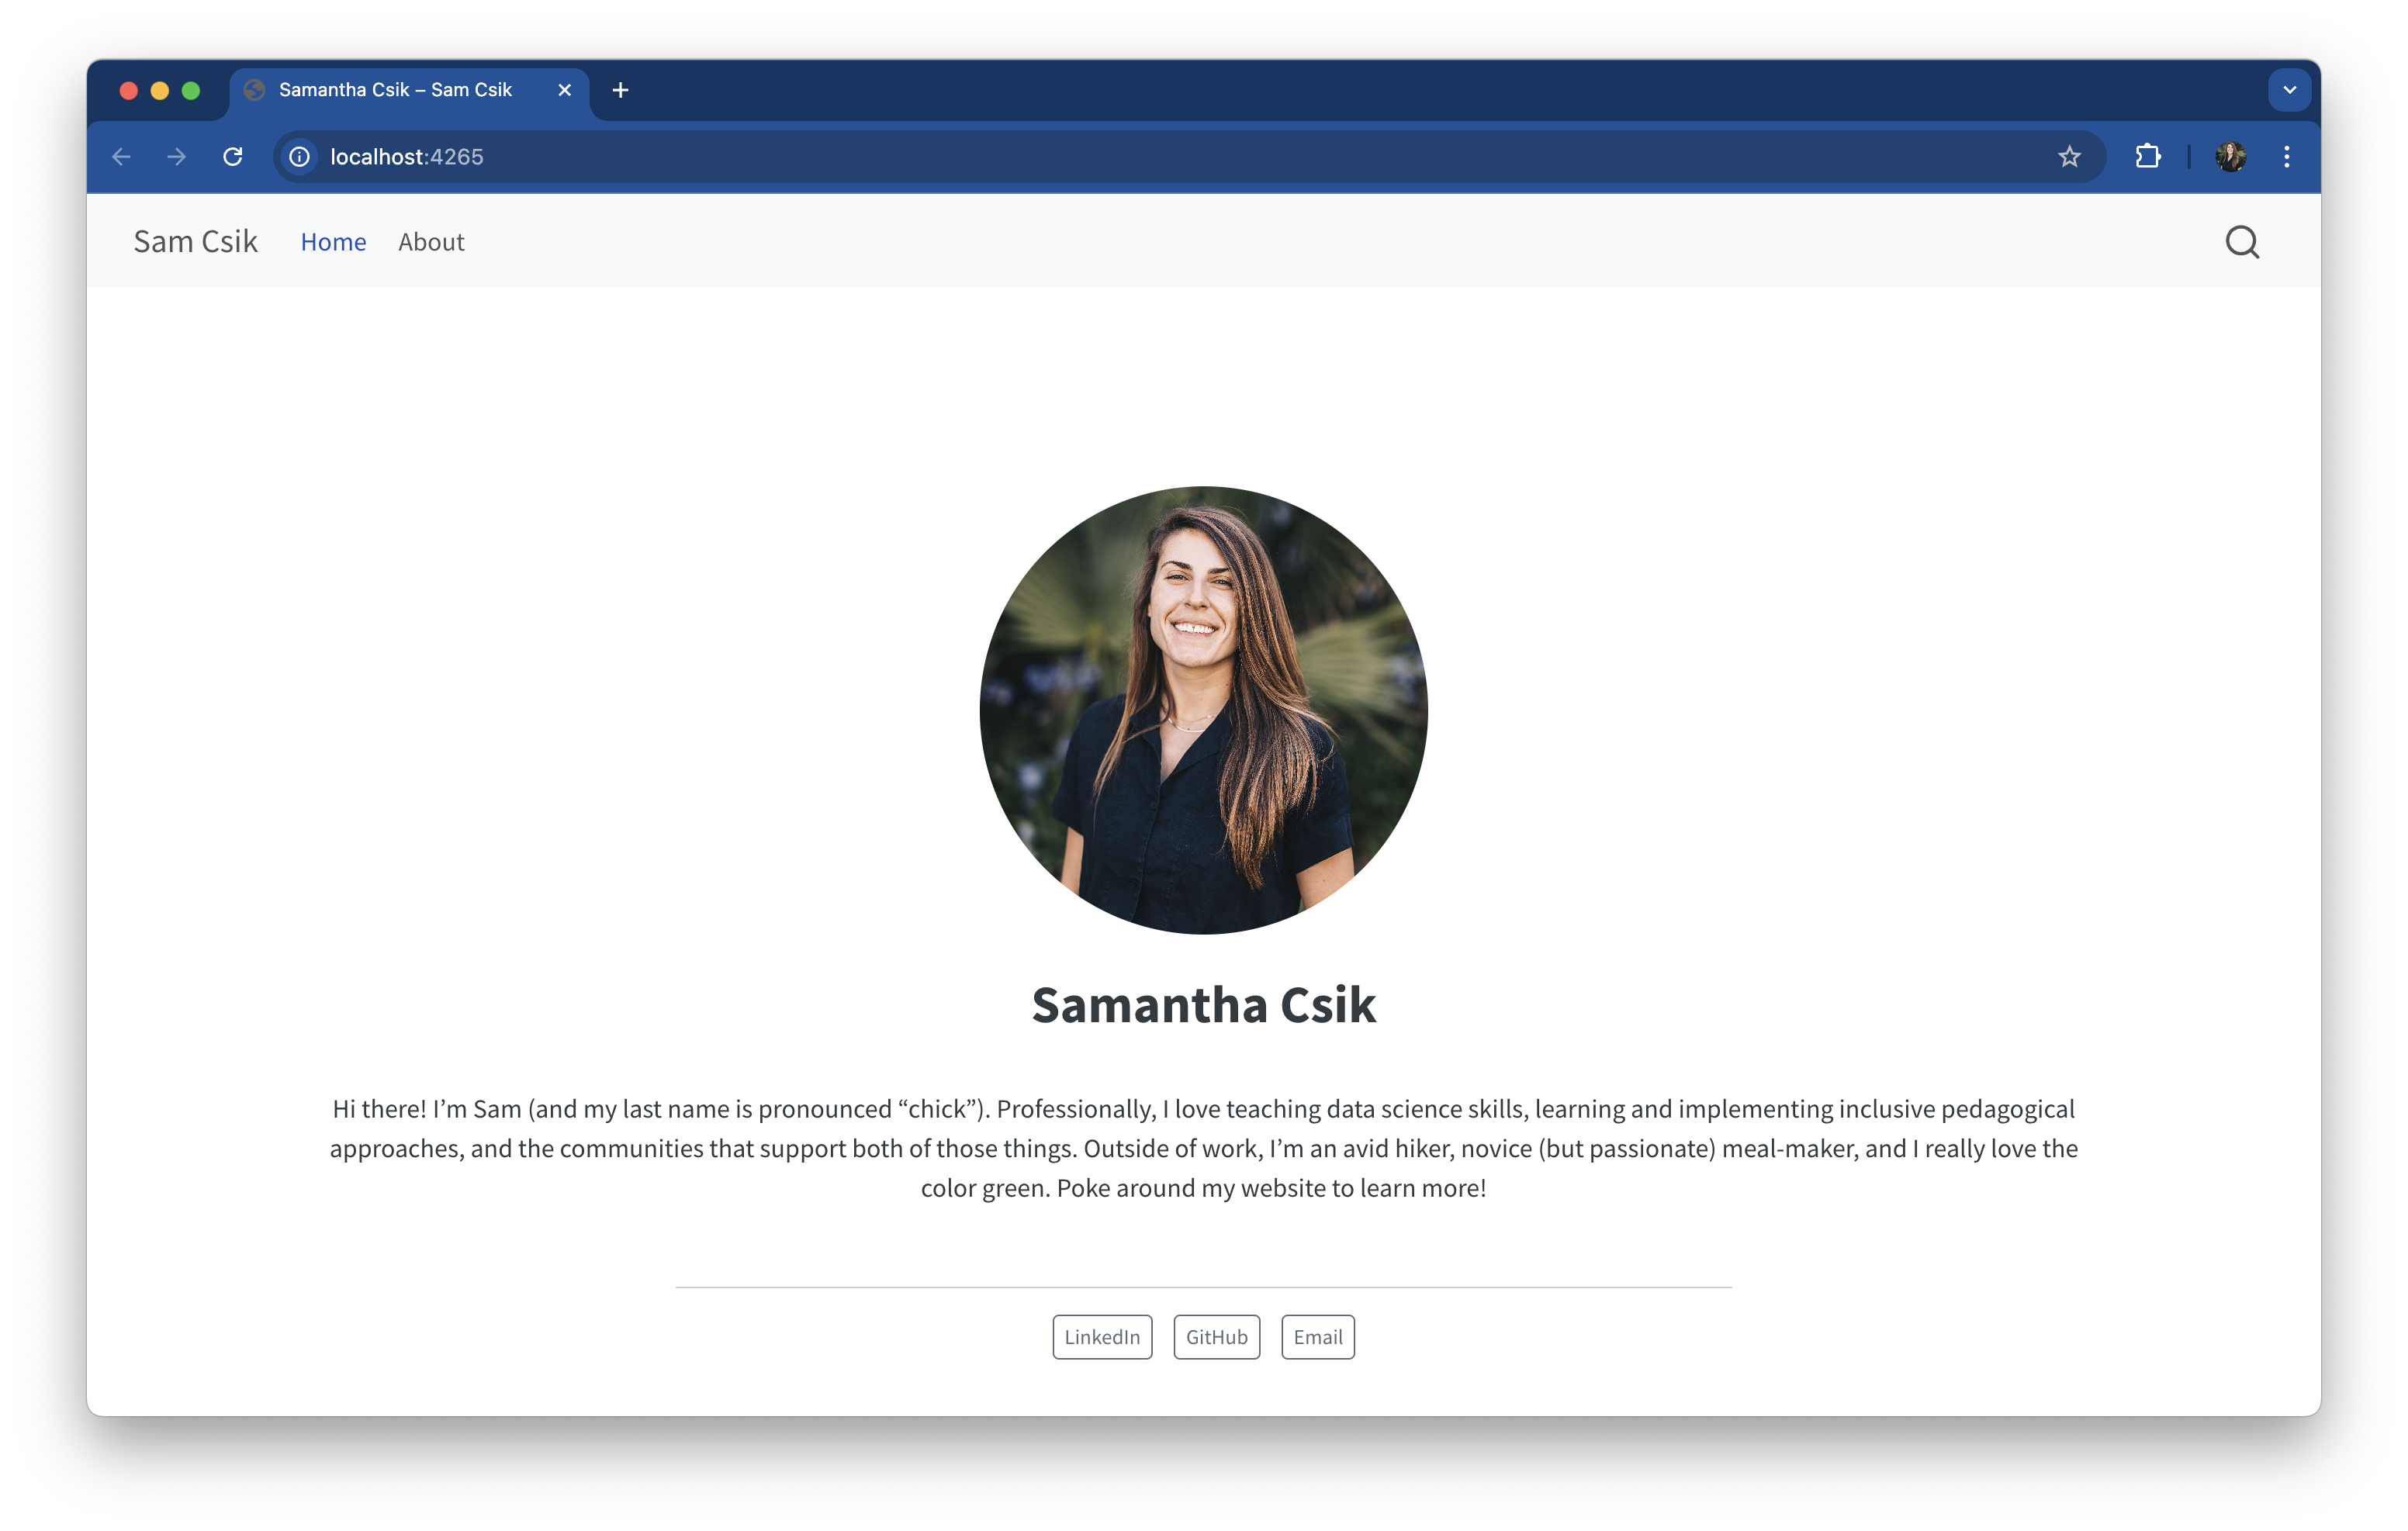

Editing the
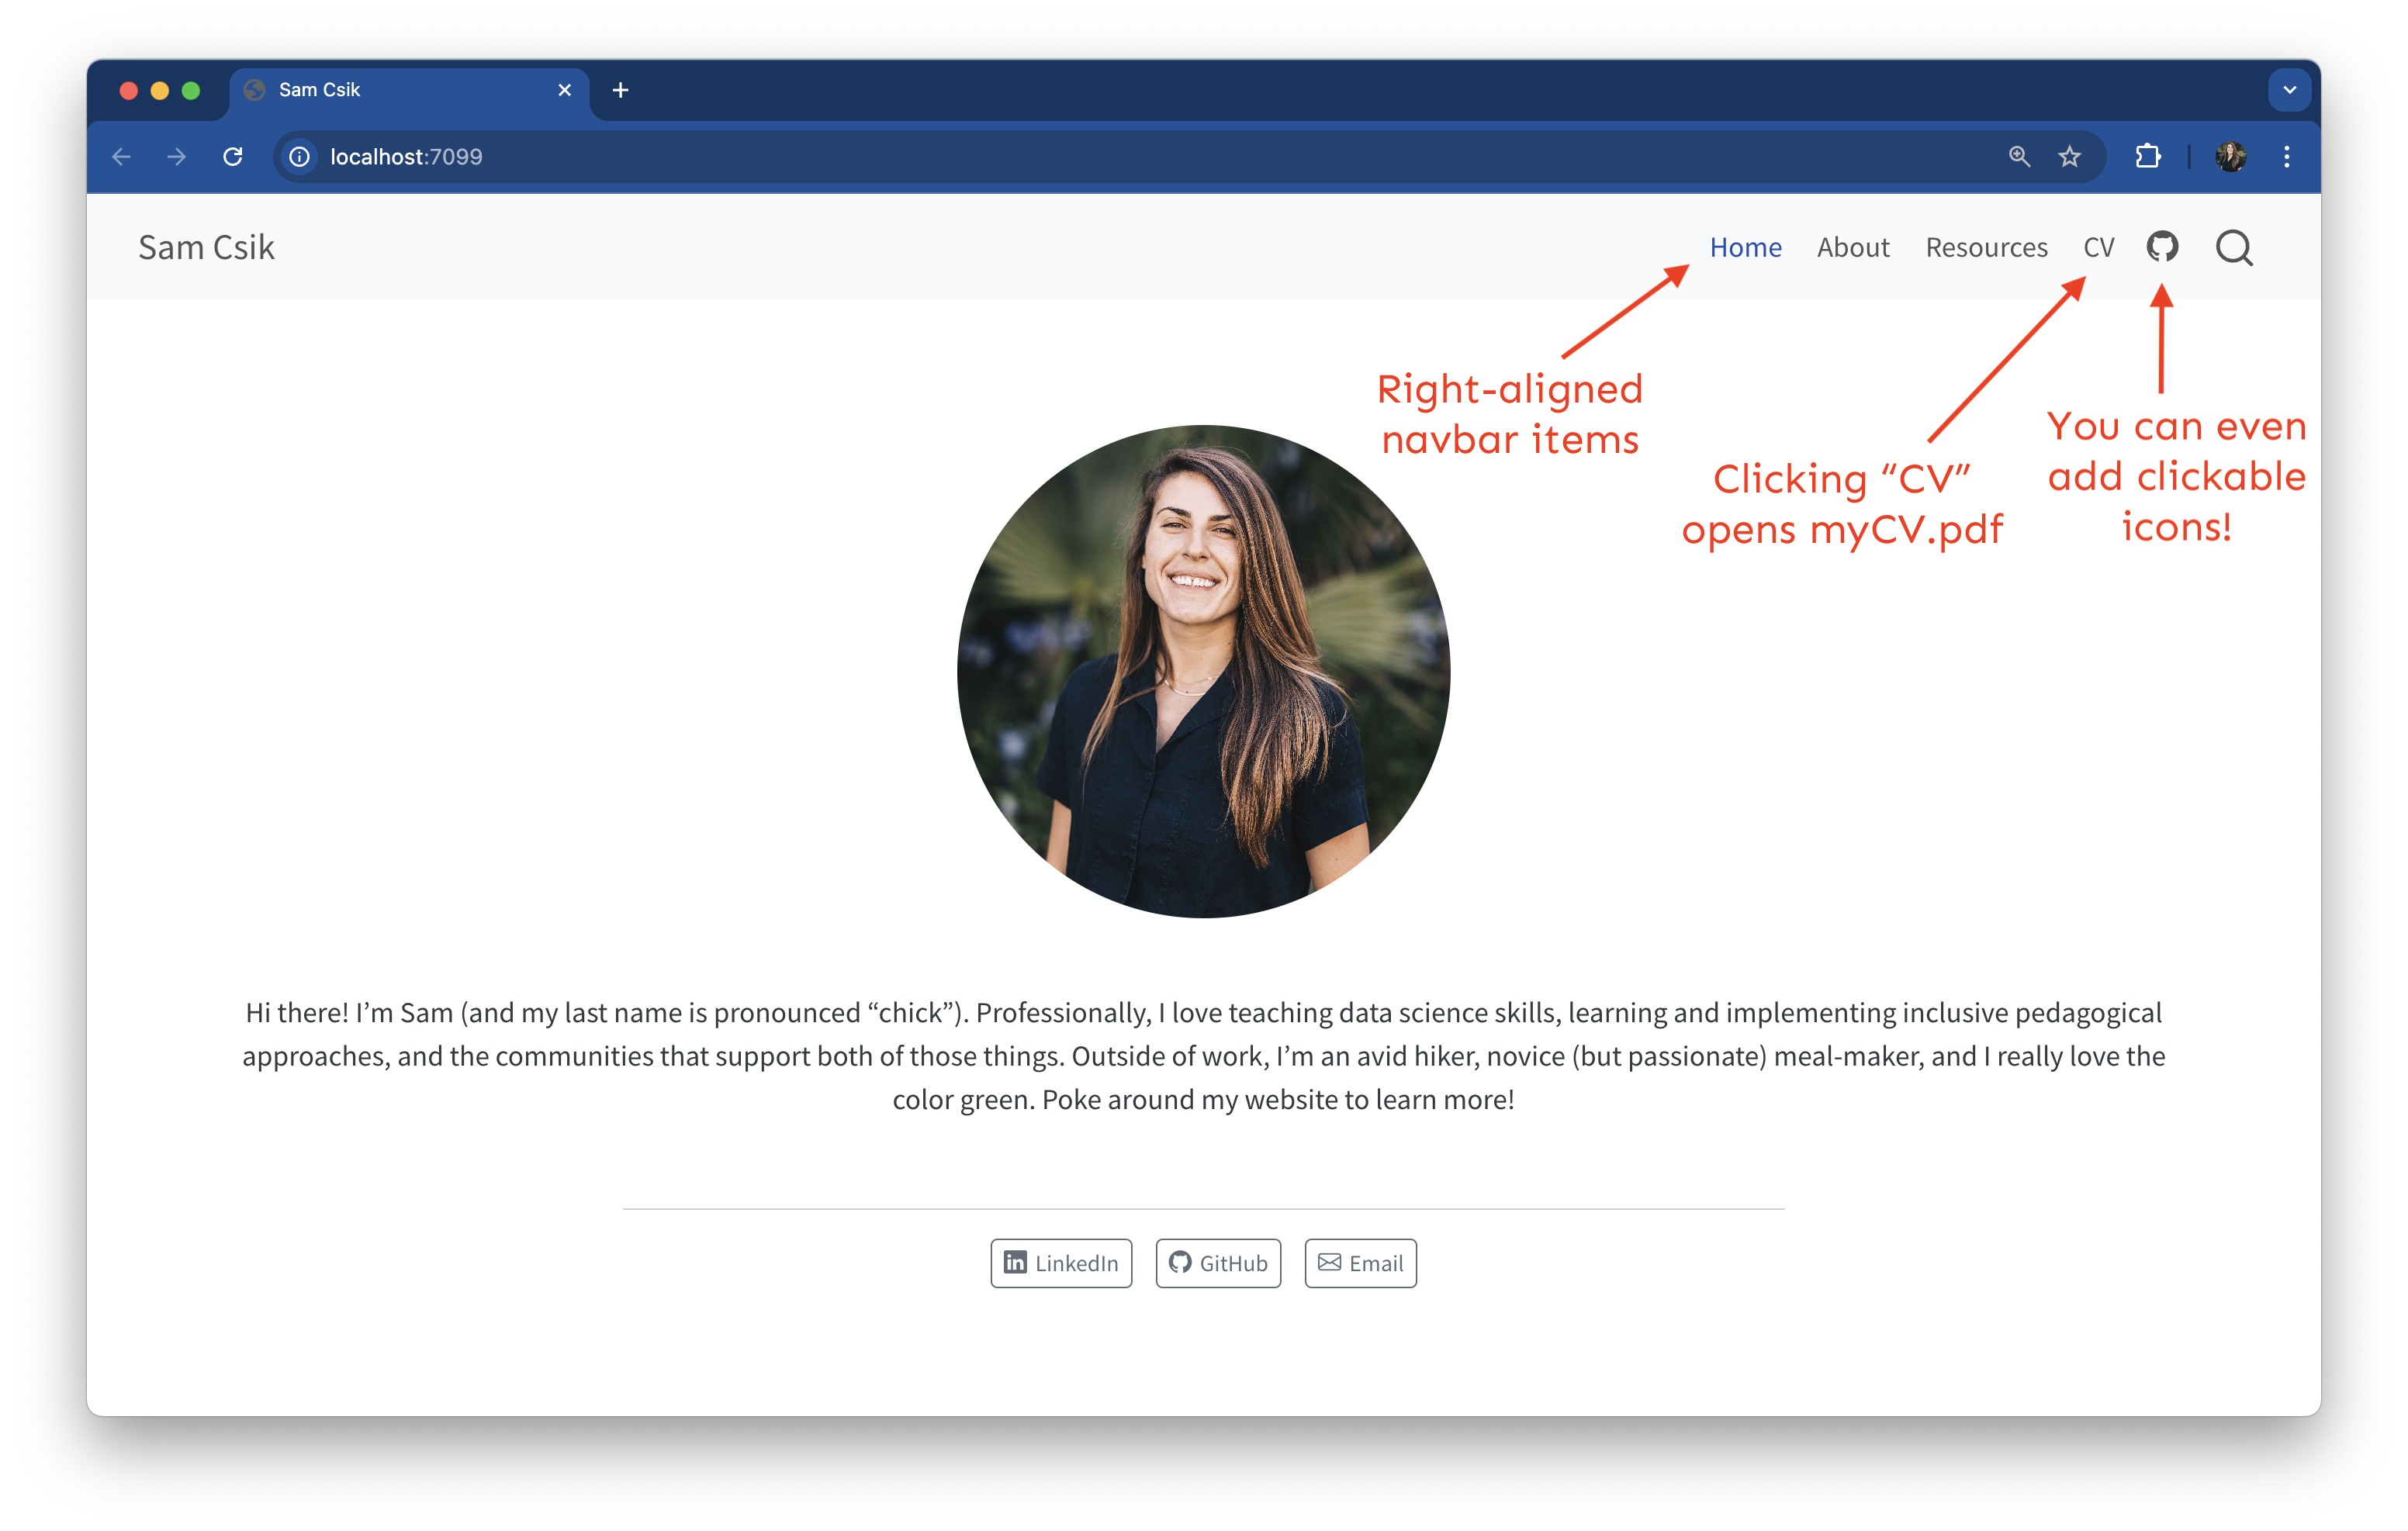
index.qmdYAML – you can apply a pre-built template to give your landing page a sleek and professional appearance (we can further modify this later with some CSS).Editing the
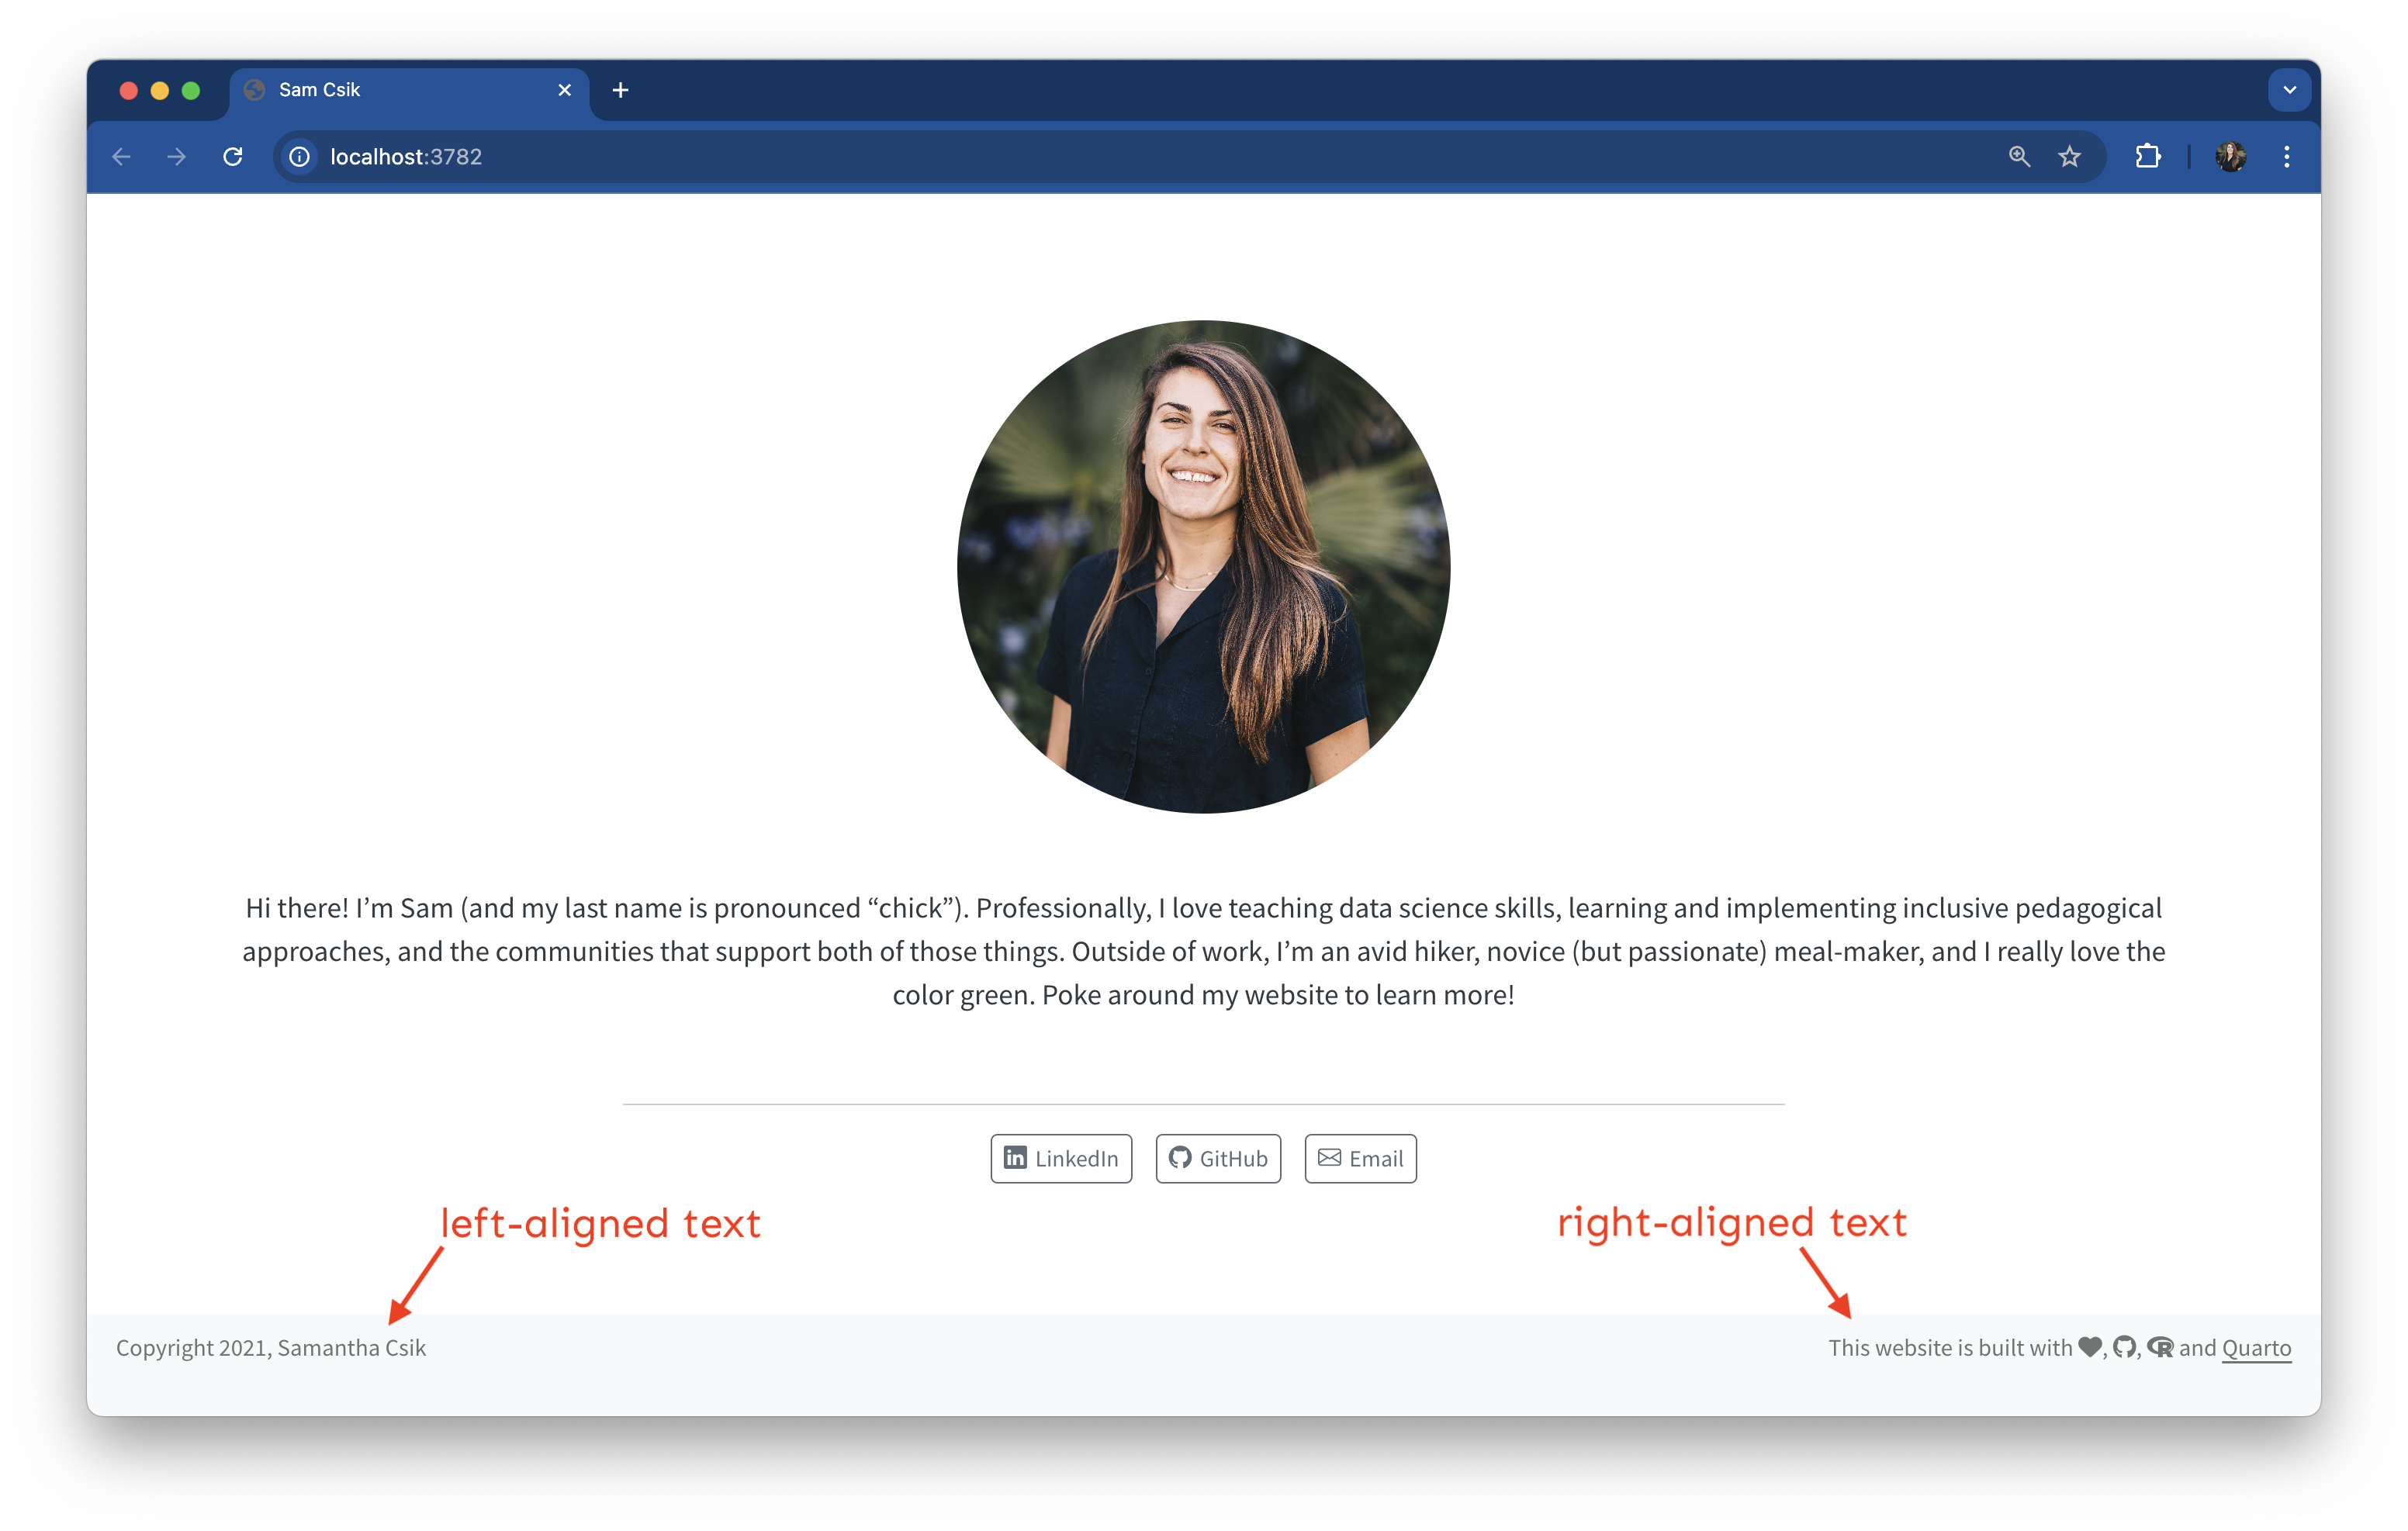
_quarto.ymlfile – this is our website configuration file, where we can easily update our website’s navigation (e.g. add new pages), add a page footer, a favicon, and much more. We can also switch the default theme to a different pre-built Bootswatch theme (by replacingcosmowith an alternative theme name).Defining CSS rules in the
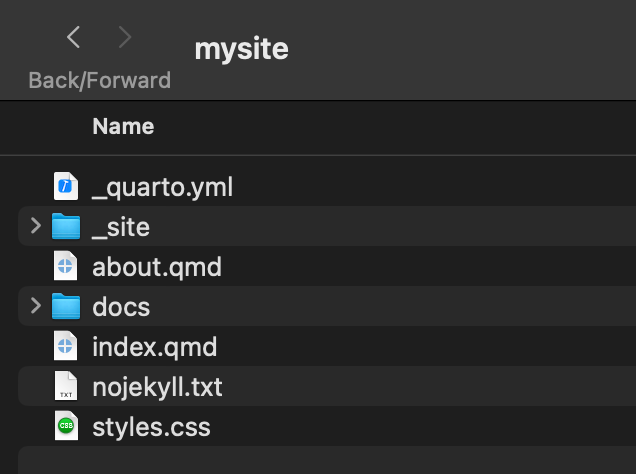
styles.cssfile that comes with every new Quarto site. This allows you to fine-tune the appearance of your site.Creating a
.scssfile(s) that contains Sass variables to quickly customize your website’s theme – these take the form of$var-name: value;and you can find a list of them in the Quarto documentation.Or…